Video Production Workflow: Industry Tips
Video production is an intricate process that blends creativity with technical skills.


Key Takeaways:
- Streamlining your video production workflow can reduce production time by up to 30% and improve content quality.
- Pre-production is crucial and includes scripting, storyboarding, scheduling, and location scouting.
- High-quality equipment, including cameras, microphones, and lighting, is essential for professional-looking videos.
- Professional editing software like Adobe Premiere Pro, Final Cut Pro, and DaVinci Resolve enhances video quality.
- Optimizing your YouTube videos with relevant keywords and eye-catching thumbnails is vital for better reach and engagement.
Video production is an intricate process that blends creativity with technical skills. A lesser-known fact about video production is that by streamlining your workflow, you can reduce production time by up to 30% while significantly enhancing the quality of your content. This blog post will explore effective video production workflows and provide step-by-step guidance on creating engaging YouTube videos.
Understanding Video Production Workflow
A well-structured video production workflow ensures your project runs smoothly from start to finish. Here are the key stages:
1. Pre-Production
Pre-production is the planning phase where you outline your video project. This stage involves several critical steps:
Scripting: Develop a detailed script that outlines the dialogue, scene descriptions, and actions. A well-written script provides clear direction for your video.
Storyboarding: Create a storyboard to visualize each scene. This helps in planning the shots and understanding the flow of the video.
Scheduling: Plan your shoot dates, times, and locations. Ensure all equipment and personnel are available as needed.
Location Scouting: Choose suitable locations that match your video’s theme and aesthetic. Consider lighting, sound, and space availability.
Casting: Select the right talent for your video. Conduct auditions if necessary and ensure your actors understand their roles.
2. Production
The production phase involves capturing all the footage and audio needed for your video. Here are some essential tips:
Use High-Quality Equipment: Invest in a good camera, microphone, and lighting setup. High-quality equipment enhances the professional look of your videos.
Follow the Script and Storyboard: Stick to your pre-planned script and storyboard to ensure consistency and flow.
Capture B-Roll: B-Roll footage provides additional visual interest and can be used to cover cuts or transitions.
Monitor Audio and Video: Continuously check the audio and video quality during shooting. Use headphones to monitor sound and review footage regularly.
3. Post-Production
Post-production is where your video comes to life. This stage involves editing, adding effects, and finalizing your project.
Editing: Use professional editing software to cut, trim, and arrange your footage. Popular options include:
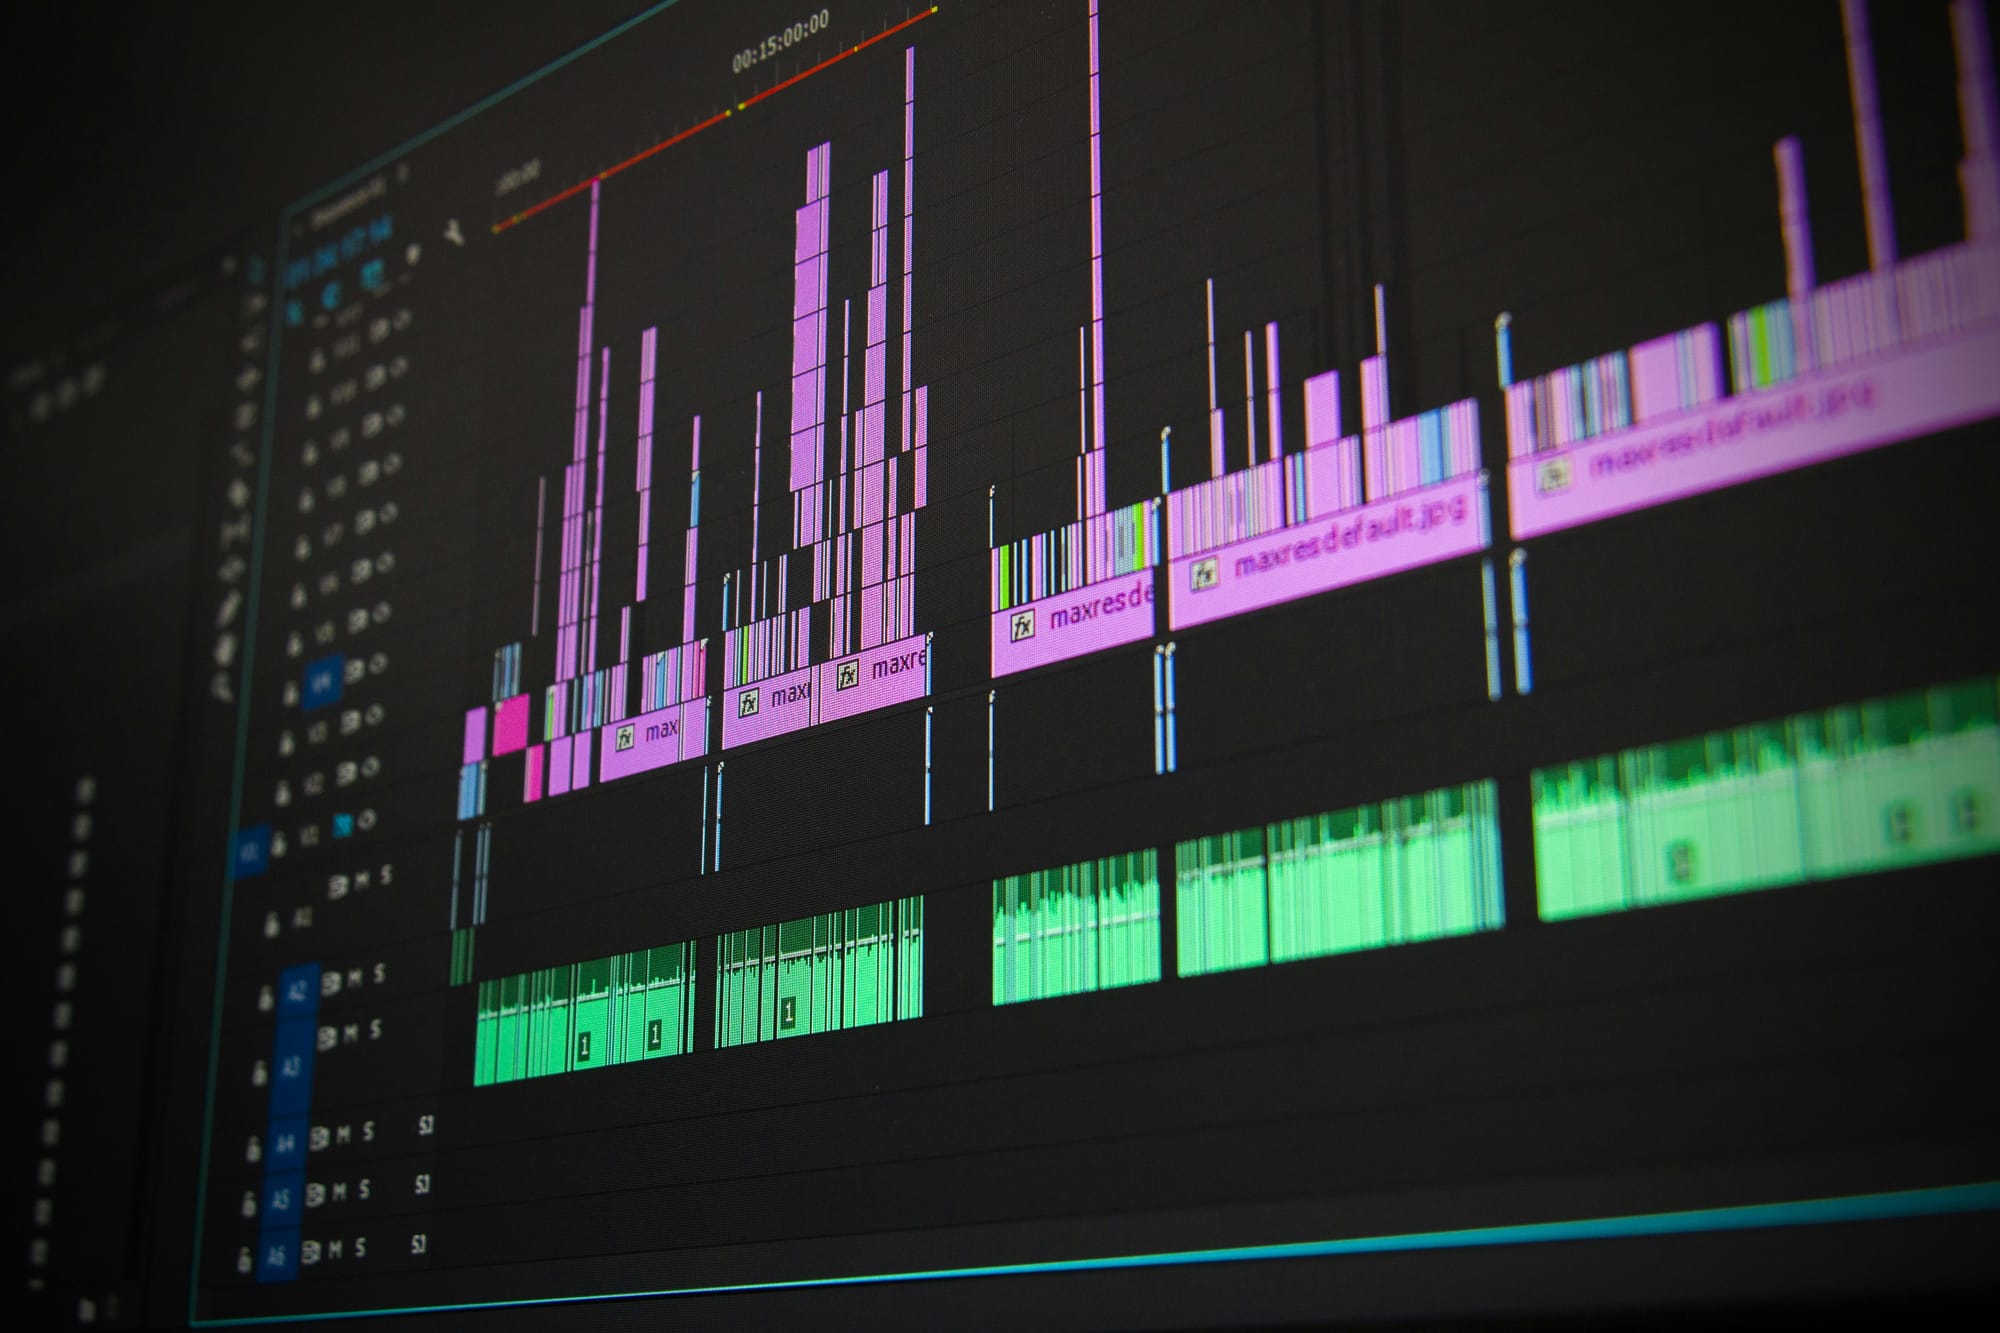
- Adobe Premiere Pro: Known for its advanced editing tools, effects, and seamless integration with other Adobe products. Perfect for detailed and professional editing. To use Adobe Premiere Pro, import your footage, arrange your clips on the timeline, use the tools to cut and trim your footage, and add transitions and effects.
- Final Cut Pro: A powerful tool for Mac users, offering intuitive features and a user-friendly interface. Ideal for creating high-quality videos efficiently. To use Final Cut Pro, import your media, organize your clips in the browser, edit your timeline, and apply color corrections and effects.
- DaVinci Resolve: Offers comprehensive editing and color correction features. Great for detailed post-production work and color grading. To use DaVinci Resolve, start by creating a new project, import your footage, edit your timeline, and use the color grading tools to enhance your video’s look.
Add Effects and Transitions: Enhance your video with visual effects, transitions, and animations. Keep it professional and avoid overusing effects.
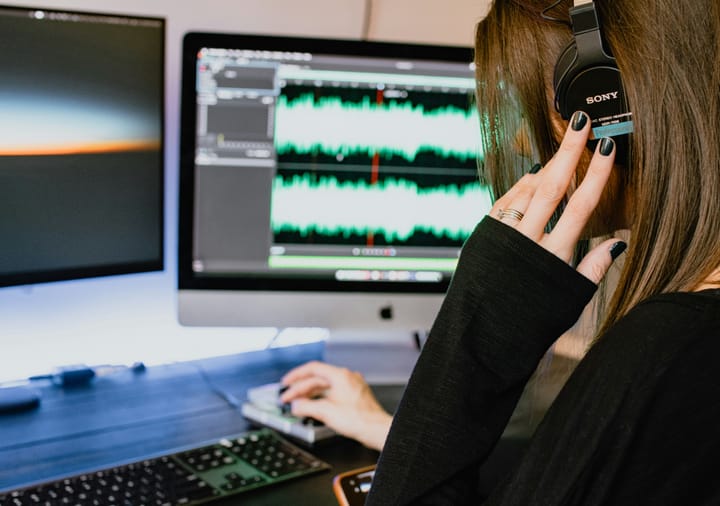
Sound Design: Add background music, sound effects, and ensure audio levels are balanced. Good sound design significantly enhances the viewer's experience.
Color Correction: Adjust the colors and lighting in your footage to ensure consistency and improve the overall look of your video.
Exporting: Choose the right format and resolution for your video based on your platform requirements. Ensure your video is optimized for online streaming.
Making a YouTube Video: Step-by-Step Guide
Creating a YouTube video involves several steps from planning to publishing. Here’s a comprehensive guide:
Step 1: Plan Your Video
Start with a detailed plan. Outline the video's purpose, target audience, and key messages. Create a storyboard to visualize the flow of your video.
Step 2: Script Your Content
Write a clear and concise script. Keep your language simple and direct. Include an introduction, main content, and a conclusion with a call-to-action (CTA).
Step 3: Set Up Your Recording Space
Choose a quiet, well-lit space for recording. Ensure your background is clean and professional. Use a good quality camera and microphone to enhance audio-visual quality.
Step 4: Record Your Video
Practice your script multiple times before recording. During the recording, maintain eye contact with the camera and speak clearly. Record multiple takes to ensure you have enough good footage to work with.
Step 5: Edit Your Video
Use video editing software to edit your footage. Cut out mistakes, add transitions, background music, and captions. Ensure the video flows smoothly and is engaging. Follow the software-specific steps mentioned earlier to maximize the tools' capabilities.
Step 6: Optimize for YouTube
Before uploading your video, optimize it for search engines. Use relevant keywords in your title, description, and tags. Create an eye-catching thumbnail and write a compelling description. Include links to your social media profiles and other relevant resources.
Step 7: Publish and Promote
Publish your video on YouTube and share it on social media platforms, embed it in blog posts, and include it in email newsletters. Encourage viewers to like, comment, and subscribe to your channel.
FAQ
What is the best way to streamline a video production workflow? Streamlining your video production workflow involves detailed pre-production planning, using high-quality equipment, and efficient post-production editing. Each step should be well-organized and adhere to the planned schedule.
Which video editing software should I use? Popular video editing software includes Adobe Premiere Pro, Final Cut Pro, and DaVinci Resolve. Choose based on your editing needs and proficiency.
How can I optimize my YouTube video for search engines? Optimize your YouTube video by using relevant keywords in the title, description, and tags. Create an engaging thumbnail, write a compelling description, and include relevant links.
How can I build a community around my YouTube content? Build a community by creating a dedicated space for your viewers, fostering engagement through regular content and discussions, hosting virtual events, offering incentives, and leveraging user-generated content. Regularly analyze engagement metrics to refine your strategies.
Billionviews.ai is a video editor recruiting platform. Discover video editors who can meet your style preferences, budget, and deadlines. Once you post a job, applicants are rated based on their samples. Post your job on Billionviews.ai today for free!


