Recording Audio for YouTube: Best Practices
Creating engaging YouTube content goes beyond stunning visuals. Audio quality plays a critical role in maintaining viewer interest and ensuring a pleasant watching experience.


Key Takeaways:
- High-quality audio can significantly improve viewer retention and engagement.
- Background noise is a leading cause of viewer drop-off on YouTube videos.
- Essential practices include choosing the right microphone, setting up a recording environment, and using audio editing software.
- Tools like Audacity, Adobe Audition, and GarageBand can help enhance audio quality.
Creating engaging YouTube content goes beyond stunning visuals. Audio quality plays a critical role in maintaining viewer interest and ensuring a pleasant watching experience. An interesting and lesser-known fact is that background noise is one of the leading causes of viewer drop-off on YouTube. This makes it essential to prioritize excellent audio quality in your videos. Here, we’ll explore the best practices for recording audio for YouTube, ensuring your videos sound professional and clear.
Choosing the Right Microphone
Selecting the right microphone is the first step towards achieving excellent audio quality. Different types of microphones serve various purposes, and the right choice depends on your recording environment and content type.
1. Dynamic Microphones
Dynamic microphones are durable and versatile, ideal for various recording conditions. They are less sensitive to background noise, making them suitable for recording in noisy environments.
2. Condenser Microphones
Condenser microphones are highly sensitive and provide a wide frequency response, capturing more detail in your audio. They are best used in quiet, controlled environments and are commonly preferred for voiceovers and studio recordings.
3. Lavalier Microphones
Lavalier microphones, or lapel mics, are small and can be clipped to clothing. They are perfect for interviews, vlogs, and situations where you need to move around while recording.
Setting Up Your Recording Environment
The recording environment greatly impacts audio quality. Here are some tips to optimize your space for recording:
1. Minimize Background Noise
Choose a quiet location and minimize background noise. Turn off fans, air conditioners, and other noisy appliances. Inform others in your space to keep noise to a minimum while recording.
2. Use Acoustic Treatment
Acoustic treatment helps reduce echoes and improve sound quality. Use foam panels, carpets, and curtains to absorb sound and prevent it from bouncing around the room.
3. Position Your Microphone Correctly
Proper microphone placement is crucial for clear audio. Keep the microphone close to your mouth but not too close to avoid plosives (the popping sound when pronouncing "p" and "b" sounds). Use a pop filter to reduce plosives and ensure a smooth recording.
Recording Techniques
Using the right techniques while recording can make a significant difference in audio quality. Here are some best practices:
1. Maintain Consistent Volume
Speak at a consistent volume and avoid sudden changes in loudness. This ensures stable audio levels and prevents distortion.
2. Monitor Your Audio
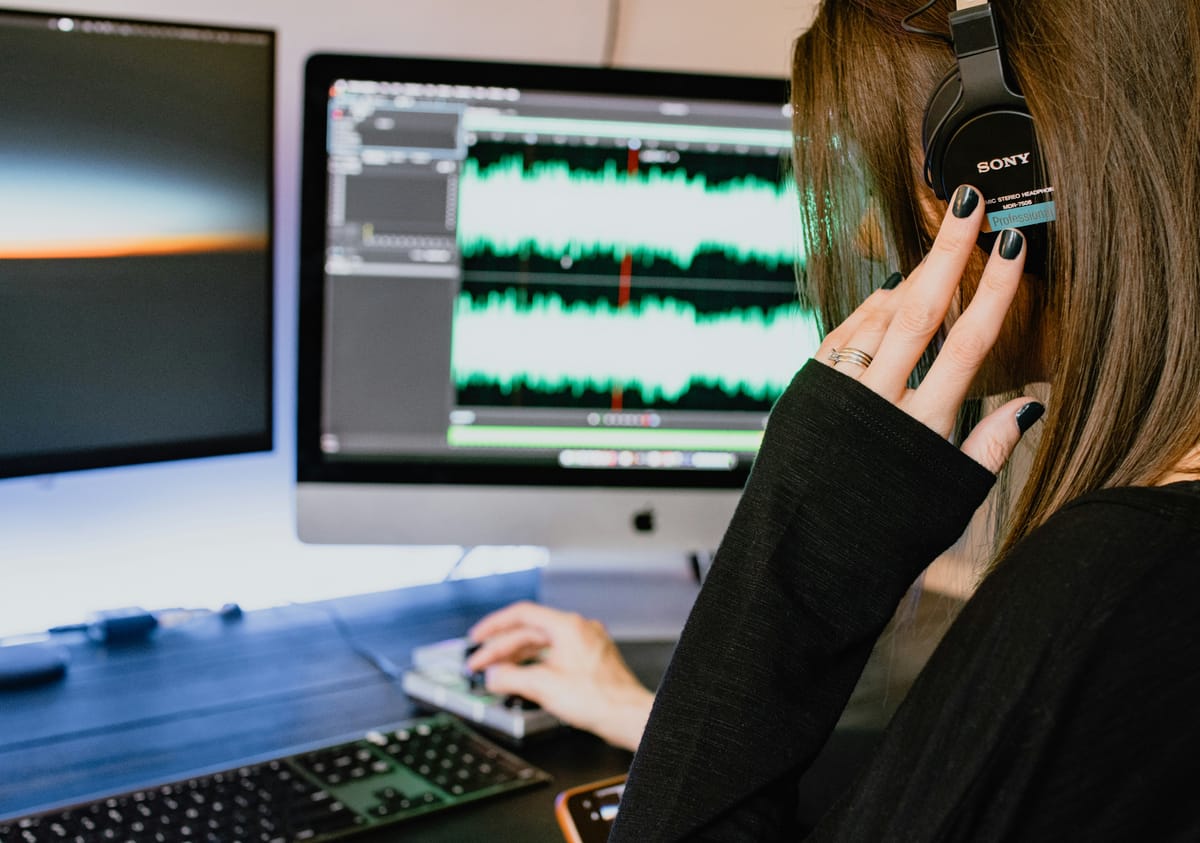
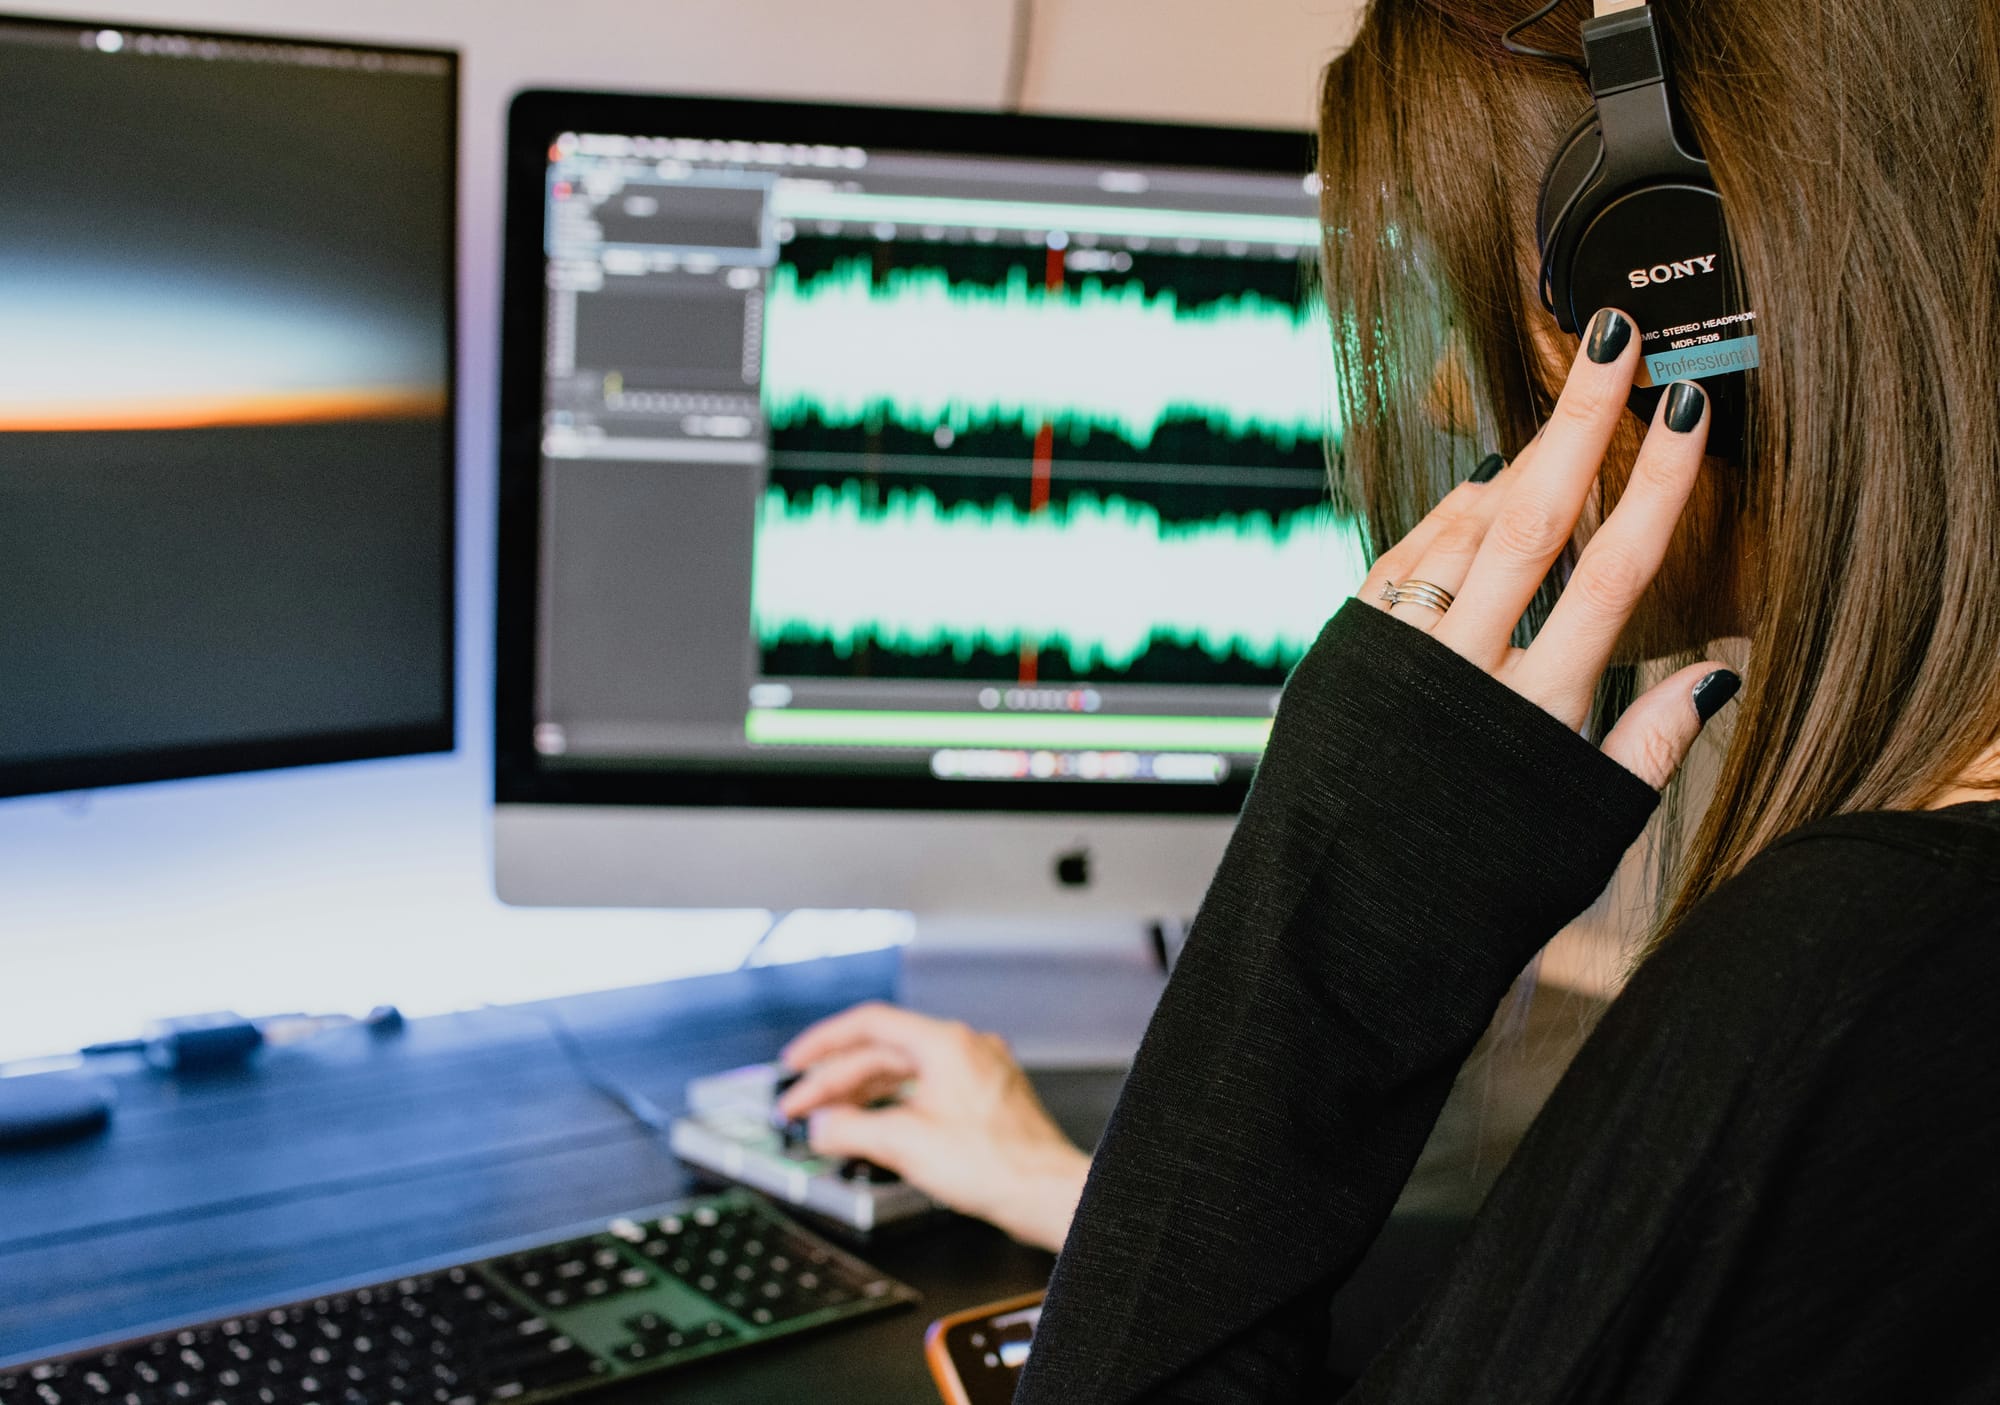
Use headphones to monitor your audio while recording. This allows you to catch any issues, such as background noise or clipping, and adjust your setup accordingly.
3. Record Multiple Takes
Recording multiple takes gives you options to choose from during editing. If you make a mistake, simply redo the section instead of trying to fix it later.
Editing and Enhancing Audio
Post-production is where you can polish your audio and ensure it sounds professional. Here are some essential tools and techniques:
1. Use Audio Editing Software
Several audio editing tools can help you enhance your recordings:
- Audacity: A free, open-source audio editing software that's great for beginners. Use it to cut, trim, and enhance your audio tracks.
- Adobe Audition: A professional audio editing software with advanced features for cleaning up and mastering audio. Ideal for those who need more control and precision.
- GarageBand: A free audio editing tool for Mac users, offering a range of features for recording and editing audio.
2. Remove Background Noise
Most audio editing software includes noise reduction tools. Use these features to remove unwanted background noise from your recordings, significantly improving audio clarity.
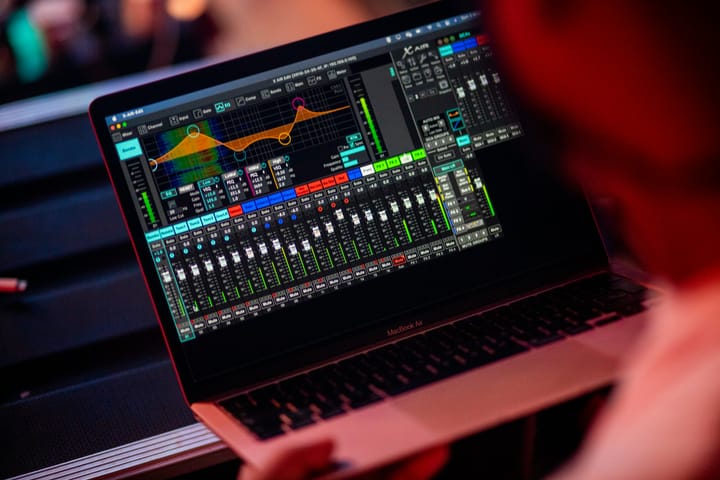
3. Equalization (EQ)
EQ allows you to adjust the balance of different frequency ranges in your audio. Boosting or cutting certain frequencies can enhance vocal clarity and overall sound quality.
4. Compression
Compression evens out the dynamic range of your audio, ensuring that the loud and quiet parts are balanced. This makes your audio sound more polished and professional.
5. Add Effects
Adding subtle effects like reverb can give your audio a more natural and pleasing sound. Be cautious not to overdo it, as excessive effects can make your audio sound artificial.
Fact: Background Noise Impact on Viewer Retention
A lesser-known fact in YouTube content creation is that background noise is one of the leading causes of viewer drop-off. Viewers are less likely to engage with and continue watching videos with poor audio quality. Ensuring clear audio without distractions can significantly improve viewer retention and engagement with your content.
Practical Tips for Improving Audio Quality
Here are some additional practical tips to ensure your audio quality is top-notch:
1. Invest in a Good Microphone
While it's possible to start with basic equipment, investing in a good microphone can make a huge difference in audio quality. Look for a microphone that suits your recording environment and content type.
2. Use a Pop Filter and Shock Mount
A pop filter reduces plosive sounds, while a shock mount isolates the microphone from vibrations. These accessories are inexpensive but can greatly enhance audio quality.
3. Test Your Setup
Before recording your actual content, do a test run to ensure everything is working correctly. Check for any background noise, microphone issues, or other problems that could affect your recording.
4. Speak Clearly and Confidently
Speaking clearly and confidently not only makes your content more engaging but also helps ensure that your audio is captured accurately. Practice speaking at a steady pace and volume.
FAQ
What type of microphone is best for recording YouTube videos? The best microphone depends on your needs and environment. Dynamic microphones are great for noisy environments, while condenser microphones offer high sensitivity and detail in controlled settings. Lavalier microphones are ideal for mobility and hands-free recording.
How can I reduce background noise in my recordings? Minimize background noise by choosing a quiet location, using acoustic treatment, and turning off noisy appliances. In post-production, use noise reduction tools available in audio editing software like Audacity, Adobe Audition, or GarageBand.
What is the impact of background noise on viewer retention? Background noise can significantly impact viewer retention, as it makes the content less enjoyable and harder to understand. Ensuring clear audio without distractions can help keep viewers engaged and improve overall watch time.
What are some essential audio editing tools for beginners? For beginners, Audacity is a great free option. It offers a range of features for cutting, trimming, and enhancing audio. GarageBand is another user-friendly option for Mac users, while Adobe Audition provides advanced features for those needing more control.
How can I ensure consistent audio quality throughout my video? Maintain consistent volume and microphone placement while recording. Monitor your audio with headphones to catch issues in real-time. In post-production, use compression to balance the dynamic range and equalization to enhance vocal clarity.
Billionviews.ai is a video editor recruiting platform. Discover video editors who can meet your style preferences, budget, and deadlines. Once you post a job, applicants are rated based on their samples. Post your job on Billionviews.ai today for free!


