Record Podcasts on iPhone: Easy Steps
In the fast-paced world of podcasting, flexibility and convenience are paramount.

Key Takeaways:
- Portable and convenient: "The iPhone offers a convenient solution for recording podcasts anywhere, whether you're at home, in the studio, or on the go."
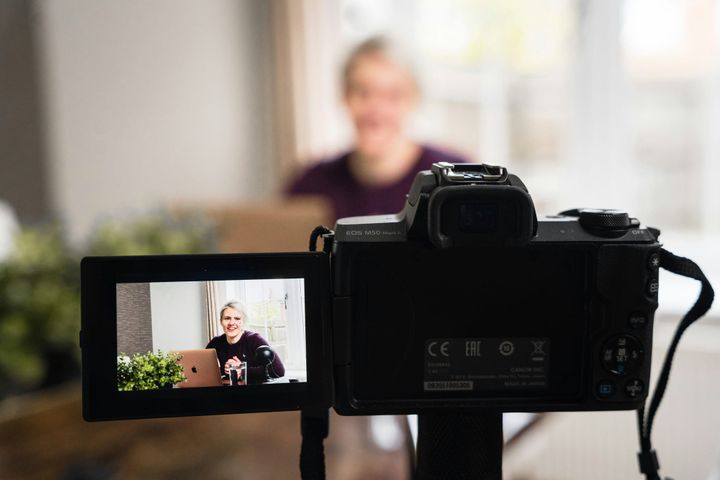
- Quality audio recording: "Despite its compact size, the iPhone boasts impressive audio recording capabilities, capturing clear and crisp sound quality."
- Simple and intuitive: "The Voice Memos app on the iPhone offers a simple and intuitive interface, making it easy for beginners to start recording podcasts with minimal setup or technical knowledge."
In the fast-paced world of podcasting, flexibility and convenience are paramount. With the prevalence of smartphones, especially the iPhone, recording podcasts has never been easier. Whether you're a seasoned podcaster or just starting, leveraging the power of your iPhone can streamline your workflow and ensure high-quality audio recordings. In this guide, we'll explore the easy steps to record podcasts on your iPhone, along with tips and tricks to optimize your recording experience.
Did you know?
Did you know that iPhones boast superb audio and video quality? You don’t have to compromise on quality when recording podcasts from your iPhone. Plus, with remote recording software, you can interview guests worldwide, no matter where they are.
Also, while the iPhone's built-in Voice Memos app is commonly used for recording podcasts, there are third-party apps available that offer advanced features such as multi-track recording and real-time editing. These apps provide additional flexibility and customization options for podcasters looking to elevate their recordings.
How to Record Podcasts on iPhone:
Prepare Your Environment:
- Find a quiet and well-lit space free from distractions. Consider using a quiet room or investing in acoustic treatment to minimize background noise and echo.
Open the Voice Memos App:
- Launch the Voice Memos app on your iPhone. If you prefer, you can also explore third-party recording apps available on the App Store for additional features and customization options.
Adjust Settings:
- Before recording, adjust the settings to suit your preferences. You can choose the audio quality, format, and microphone input source from the app's settings menu.
Position Your iPhone:
- Place your iPhone in a stable location, ensuring that the built-in microphone is facing you and any guests or speakers. Consider using a tripod or stand to stabilize the iPhone during recording.
Start Recording:
- Tap the record button to start recording. Speak clearly and directly into the microphone, maintaining a consistent distance for optimal sound quality.
Pause and Edit:
- If necessary, you can pause the recording at any time by tapping the pause button. After recording, you can trim and edit the audio within the Voice Memos app to remove any mistakes or unwanted sections.
Save and Share:
- After editing, save the recording to your iPhone's storage or iCloud. You can then share the audio file directly from the Voice Memos app via email, messaging apps, or cloud storage platforms.
Content and Planning:
Format: Choose a format that complements your blog. Repurpose popular blog posts, host Q&A sessions, or interview relevant figures in your niche.
Planning: Outline your discussion points, prepare questions for guests, and write a script if needed. This ensures a smooth flow and prevents awkward silences.
Tips for Recording Professional-Quality Podcasts on iPhone:
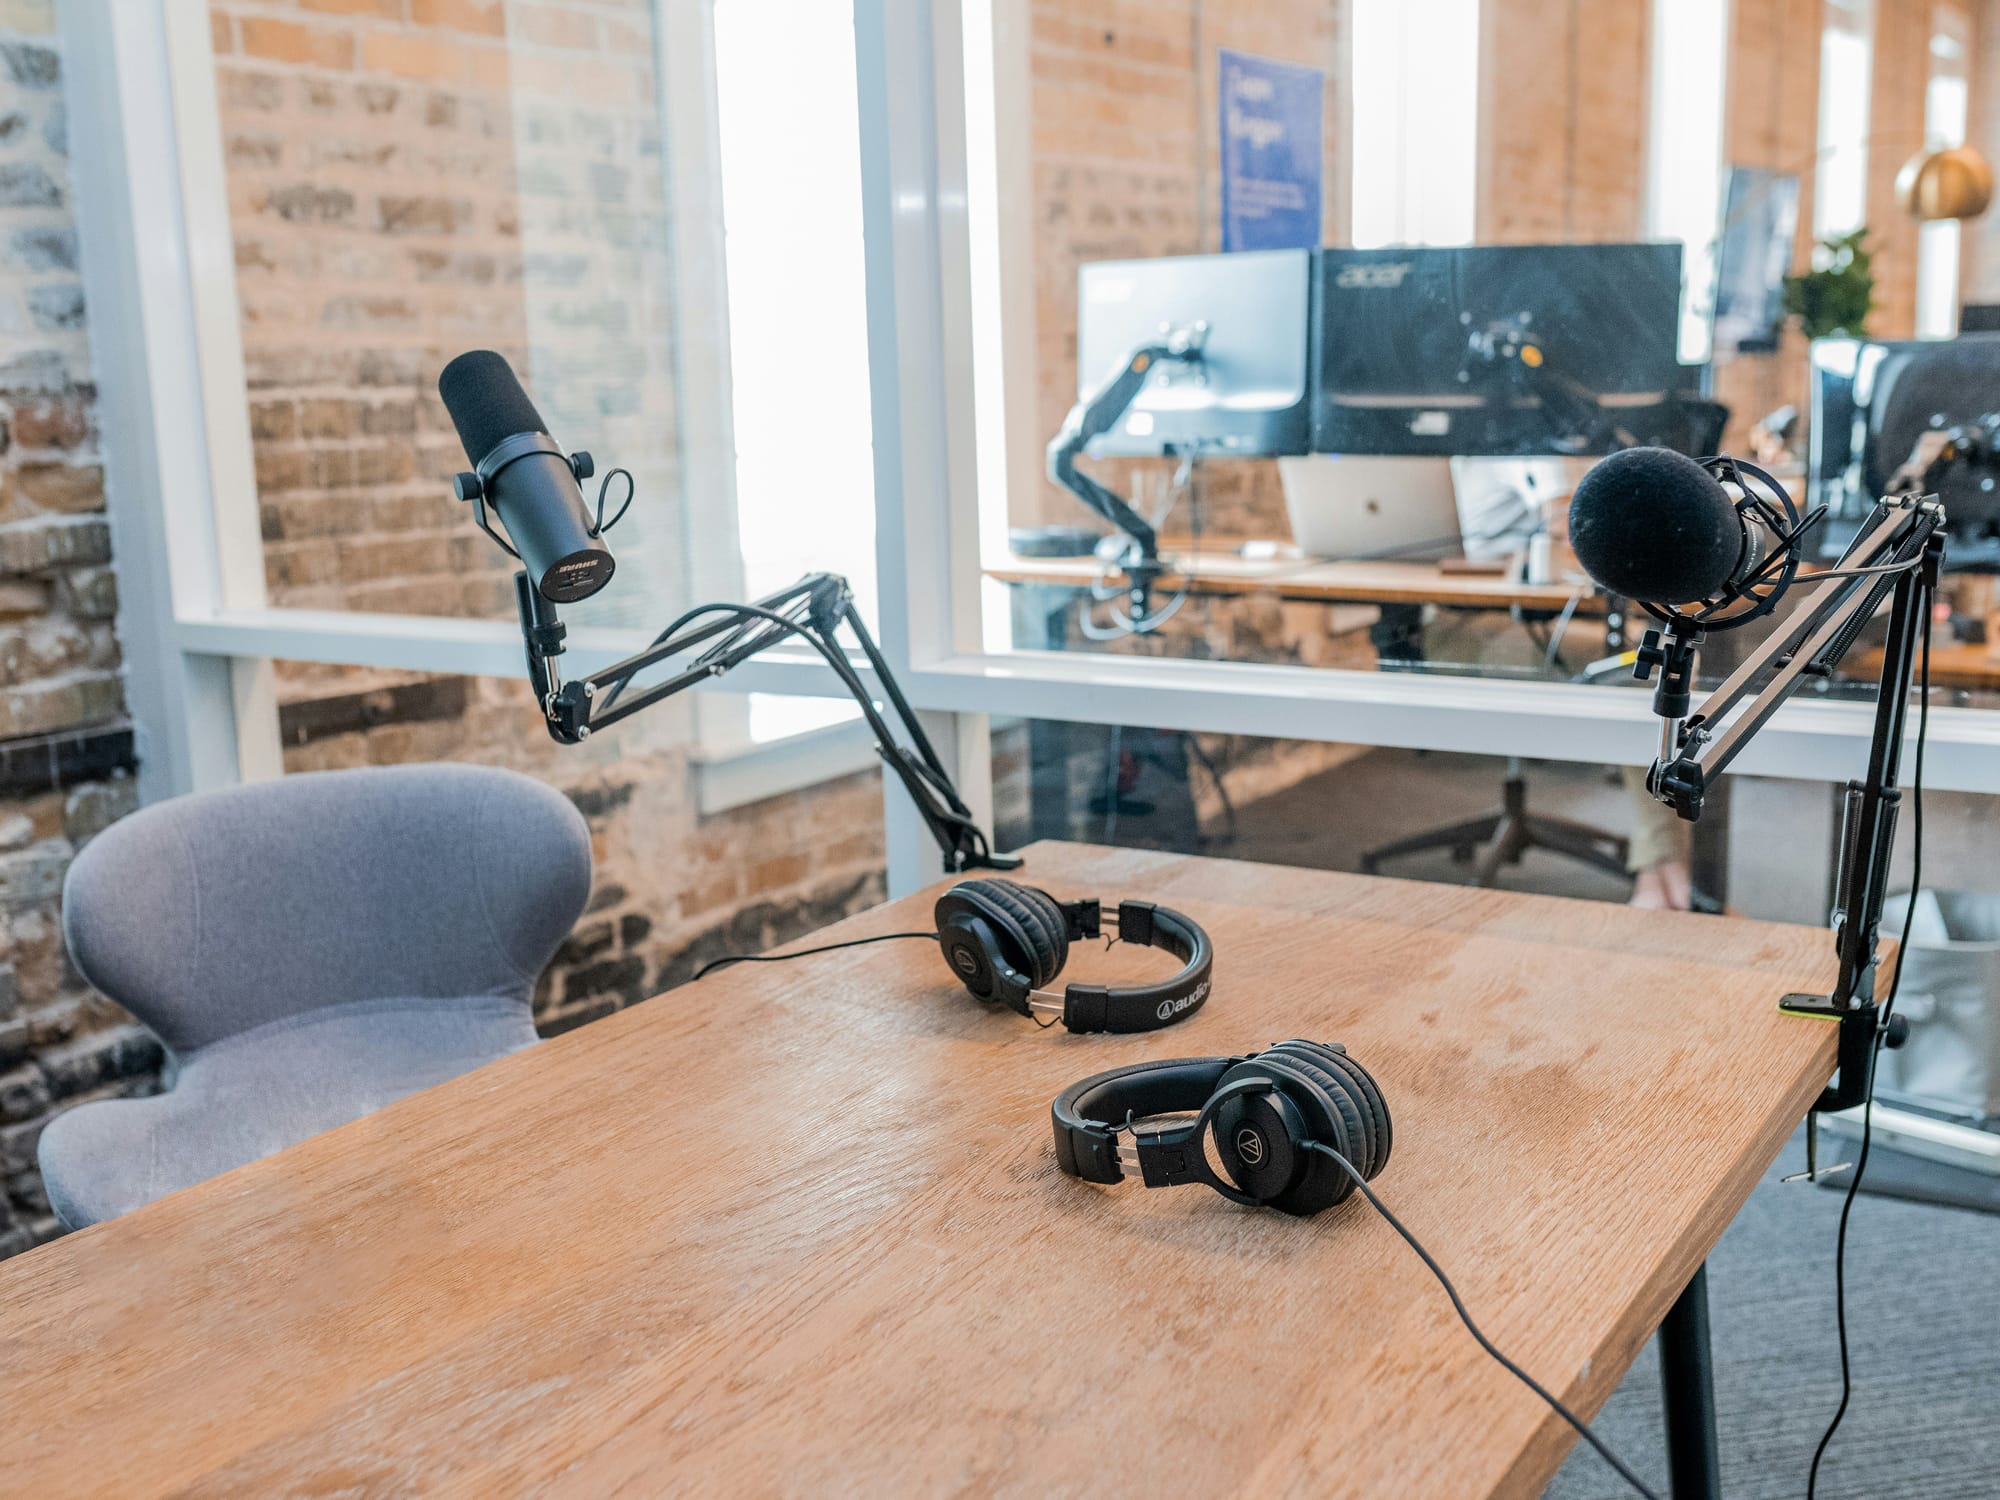
- Invest in a microphone: While iPhone mics are convenient, a dedicated microphone greatly improves audio quality. Look for a larger mic or directional mic that reduces background noise.
- Use external microphones: Consider investing in external microphones for improved audio quality, especially in noisy environments.
- Recording app: Use a dedicated podcast recording app that offers features like multi-track recording (useful for interviews), basic editing tools, and easy export options. Popular options include Anchor, Ferrite, or Rodecaster Pro Mobile. Environment: Find a quiet place with minimal background noise. Consider using soundproofing materials such as fabric or acoustic foam panels if necessary.
- Experiment with different recording environments: Try recording in different locations to find the optimal acoustic environment for your podcasts.
- Utilize editing apps: Explore third-party editing apps available on the App Store for additional features such as multi-track recording and real-time editing.
Additional Tips:
Practice for perfection: Record a practice to test your system and make sure the audio is good.
Embrace your voice: Let your personality shine! Your passion and enthusiasm will be passed on to your audience.
Be consistent: Schedule regular podcast episodes to build a loyal audience. Consistency is key to long-term success.
Promote on social media: Promote your podcast on your social media channels and relevant online communities to attract listeners.
Configuration and Processing:
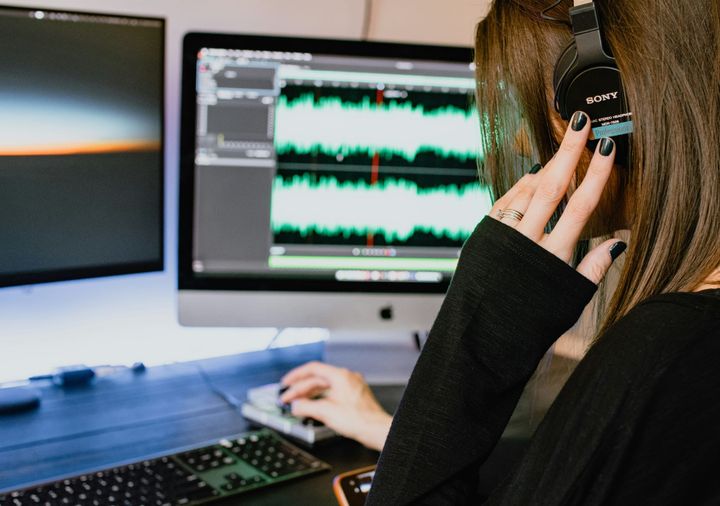
Basic editing: Free editing apps also allow you to remove background noise, add intro outros, and adjust audio levels. Consider options like Audacity or GarageBand (for Apple devices).
Music and intro: Include free background music and short intro jingles to boost professionalism. Many editing apps have built-in libraries or you can browse resources online.
Blog integration: Promote your podcast on your blog with teasers, embedded players and episode transcripts. This increases visibility and engagement.
Top iPhone Podcast Recording Apps
1. Alitu ($28/mo OR $280/year)
Best for: Easy podcast creation with minimal editing.
How to use it: Alitu simplifies the podcast-making process. It integrates with most podcast hosting platforms, allowing you to record and publish seamlessly.
2. AudioShare ($3.99)
Best for: Extensive audio editing and seamless integration.
How to use it: AudioShare offers an intuitive audio editor, imports/exports, and integration with SoundCloud and Dropbox.
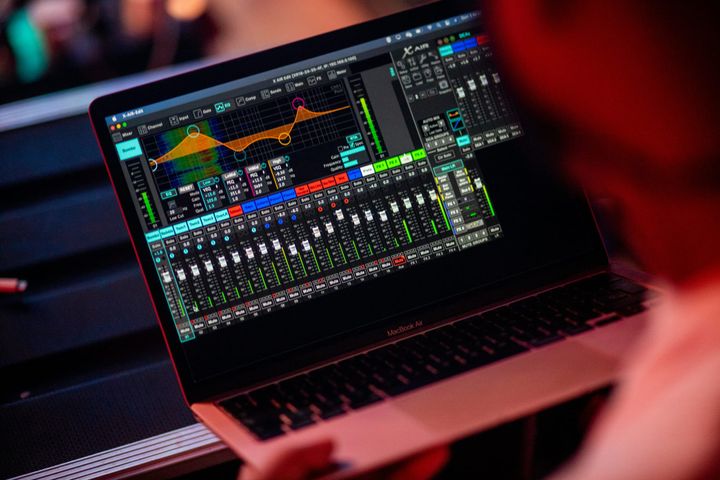
3. MultiTrack DAW ($9.99)
Best for: Multitrack recording (up to 24 tracks) and advanced editing.
How to use it: Craft your sound with EQ, compression, and non-destructive editing.
Honorable Mention: GarageBand (Free)
Best free option: Apple’s GarageBand lets you record, edit, mix, and enhance recordings. It even provides royalty-free music for your podcast.
Anchor: Free and easy-to-use app
How to use it: record, edit, organize, and share your podcast. It also offers features such as voice overlays, transitions, and sound effects.
Ferrite: Simple and intuitive app
How to use it: focuses on high-quality audio recording. It offers multi-track recording, basic editing tools, and cloud storage for your recordings.
Rodecaster Pro Mobile: Professional-grade app
Best free option: is from acclaimed audio equipment manufacturer Rode. It offers a wide range of features including multi-track recording, mixing, processing, and live-streaming
With these easy steps and tips, you can harness the power of your iPhone to record professional-quality podcasts anytime, anywhere. Whether you're recording solo episodes or conducting interviews on the go, the iPhone offers a convenient and accessible solution for creating engaging audio content.
Top 10 mistakes beginners make when recording podcasts on their iPhones:
Neglecting Audio Quality: While iPhones can record decently, prioritizing good audio is crucial. Invest in a good microphone (lavalier or directional) to minimize background noise.
Ignoring Background Noise: Find a quiet space to record. If needed, use soundproofing materials like blankets or acoustic foam panels.
Failing to Plan: Not having an outline or script can lead to rambling and awkward silences. Plan your discussion points, prepare questions for guests, and consider scripting key segments.
Forgetting the Environment: Lighting and video quality might not be essential for audio podcasts, but a clean and professional backdrop in your recording space can enhance your brand image (if you plan video promos).
Underestimating Editing: Even basic editing is necessary. Free apps like Audacity or GarageBand can remove background noise, adjust audio levels, and add intros/outros.
Skipping the Practice Run: Do a test recording to check your setup, audio quality, and overall flow. This helps identify and fix issues before recording the actual episode.
Not Promoting Your Podcast: Announce your podcast on your blog, social media channels, and relevant online communities well in advance to build anticipation.
Inconsistent Uploads: Schedule regular uploads to build a loyal audience. Consistency is key in establishing your podcast and keeping listeners engaged.
Focusing on Equipment: You don't need the most expensive setup to start. A good microphone is key, but prioritize content and planning over fancy equipment.
Getting Discouraged by Numbers: New podcasts take time to grow. Don't get disheartened by low initial listenership. Focus on creating quality content and building a community.
FAQ:
Q: Can I use the iPhone's built-in Voice Memos app for multi-track recording?
A: No, the Voice Memos app only supports single-track recording. However, there are third-party recording apps available on the App Store that offer multi-track recording capabilities for podcasters looking for more advanced features.
Q: How can I improve audio quality when recording podcasts on my iPhone?
A: Consider using external microphones or accessories, such as pop filters or windshields, to improve audio quality. Additionally, recording in a quiet environment and adjusting microphone settings can help minimize background noise and distortion.
Billionviews.ai is a video editor recruiting platform. Discover video editors who can meet your style preferences, budget, and deadlines. Once you post a job, applicants are rated based on their samples. Post your job on Billionviews.ai today for free!